Custom Domains for React Apps on AWS
In the previous chapter we configured a custom domain for our serverless API. Now let’s do the same for our frontend React.js app.
 In the
 stacks/FrontendStack.js add the following below the new ReactStaticSite( line.
customDomain:
  app.stage === "prod"
    ? {
        domainName: "my-serverless-app.com",
        domainAlias: "www.my-serverless-app.com",
      }
    : undefined,
Just like the API case, we want to use our custom domain if we are deploying to the prod stage. This means that when we are using our app locally or deploying to any other stage, it won’t be using the custom domain.
Of course, you can change this if you’d like to use a custom domain for the other stages. You can use something like ${app.stage}.my-serverless-app.com. So for dev it’ll be dev.my-serverless-app.com. But we’ll leave this as an exercise for you.
The domainAlias prop is necessary because we want visitors of www.my-serverless-app.com to be redirected to the URL we want to use. It’s a good idea to support both the www. and root versions of our domain. You can switch these around so that the root domain redirects to the www. version as well.
You won’t need to set the domainAlias for the non-prod versions because we don’t need www. versions for those.
We need to use the custom domain URL of our API in our React app.
 Find the following line in
 stacks/FrontendStack.js.
REACT_APP_API_URL: api.url,
 And replace it with.
REACT_APP_API_URL: api.customDomainUrl || api.url,
Note that, if you are going to use a custom domain locally, you might need to remove your app (npx sst remove) and deploy it again. This is because CDK doesn’t allow you to change these references dynamically.
We also need to update the outputs of our frontend stack.
 Replace the
 stack.addOutputs call at the bottom of stacks/FrontendStack.js with this.
stack.addOutputs({
  SiteUrl: site.customDomainUrl || site.url,
});
Here, we are returning the custom domain URL, if we have one. If not, then we return the auto-generated URL.
Deploy the App
Just like the previous chapter, we need to update these changes in prod.
 Run the following from your project root.
$ npx sst deploy --stage prod
This command will take a few minutes. At the end of the deploy process you should see something like this.
Stack prod-notes-FrontendStack
  Status: no changes
  Outputs:
    SiteUrl: https://my-serverless-app.com
  ReactSite:
    REACT_APP_API_URL: https://api.my-serverless-app.com
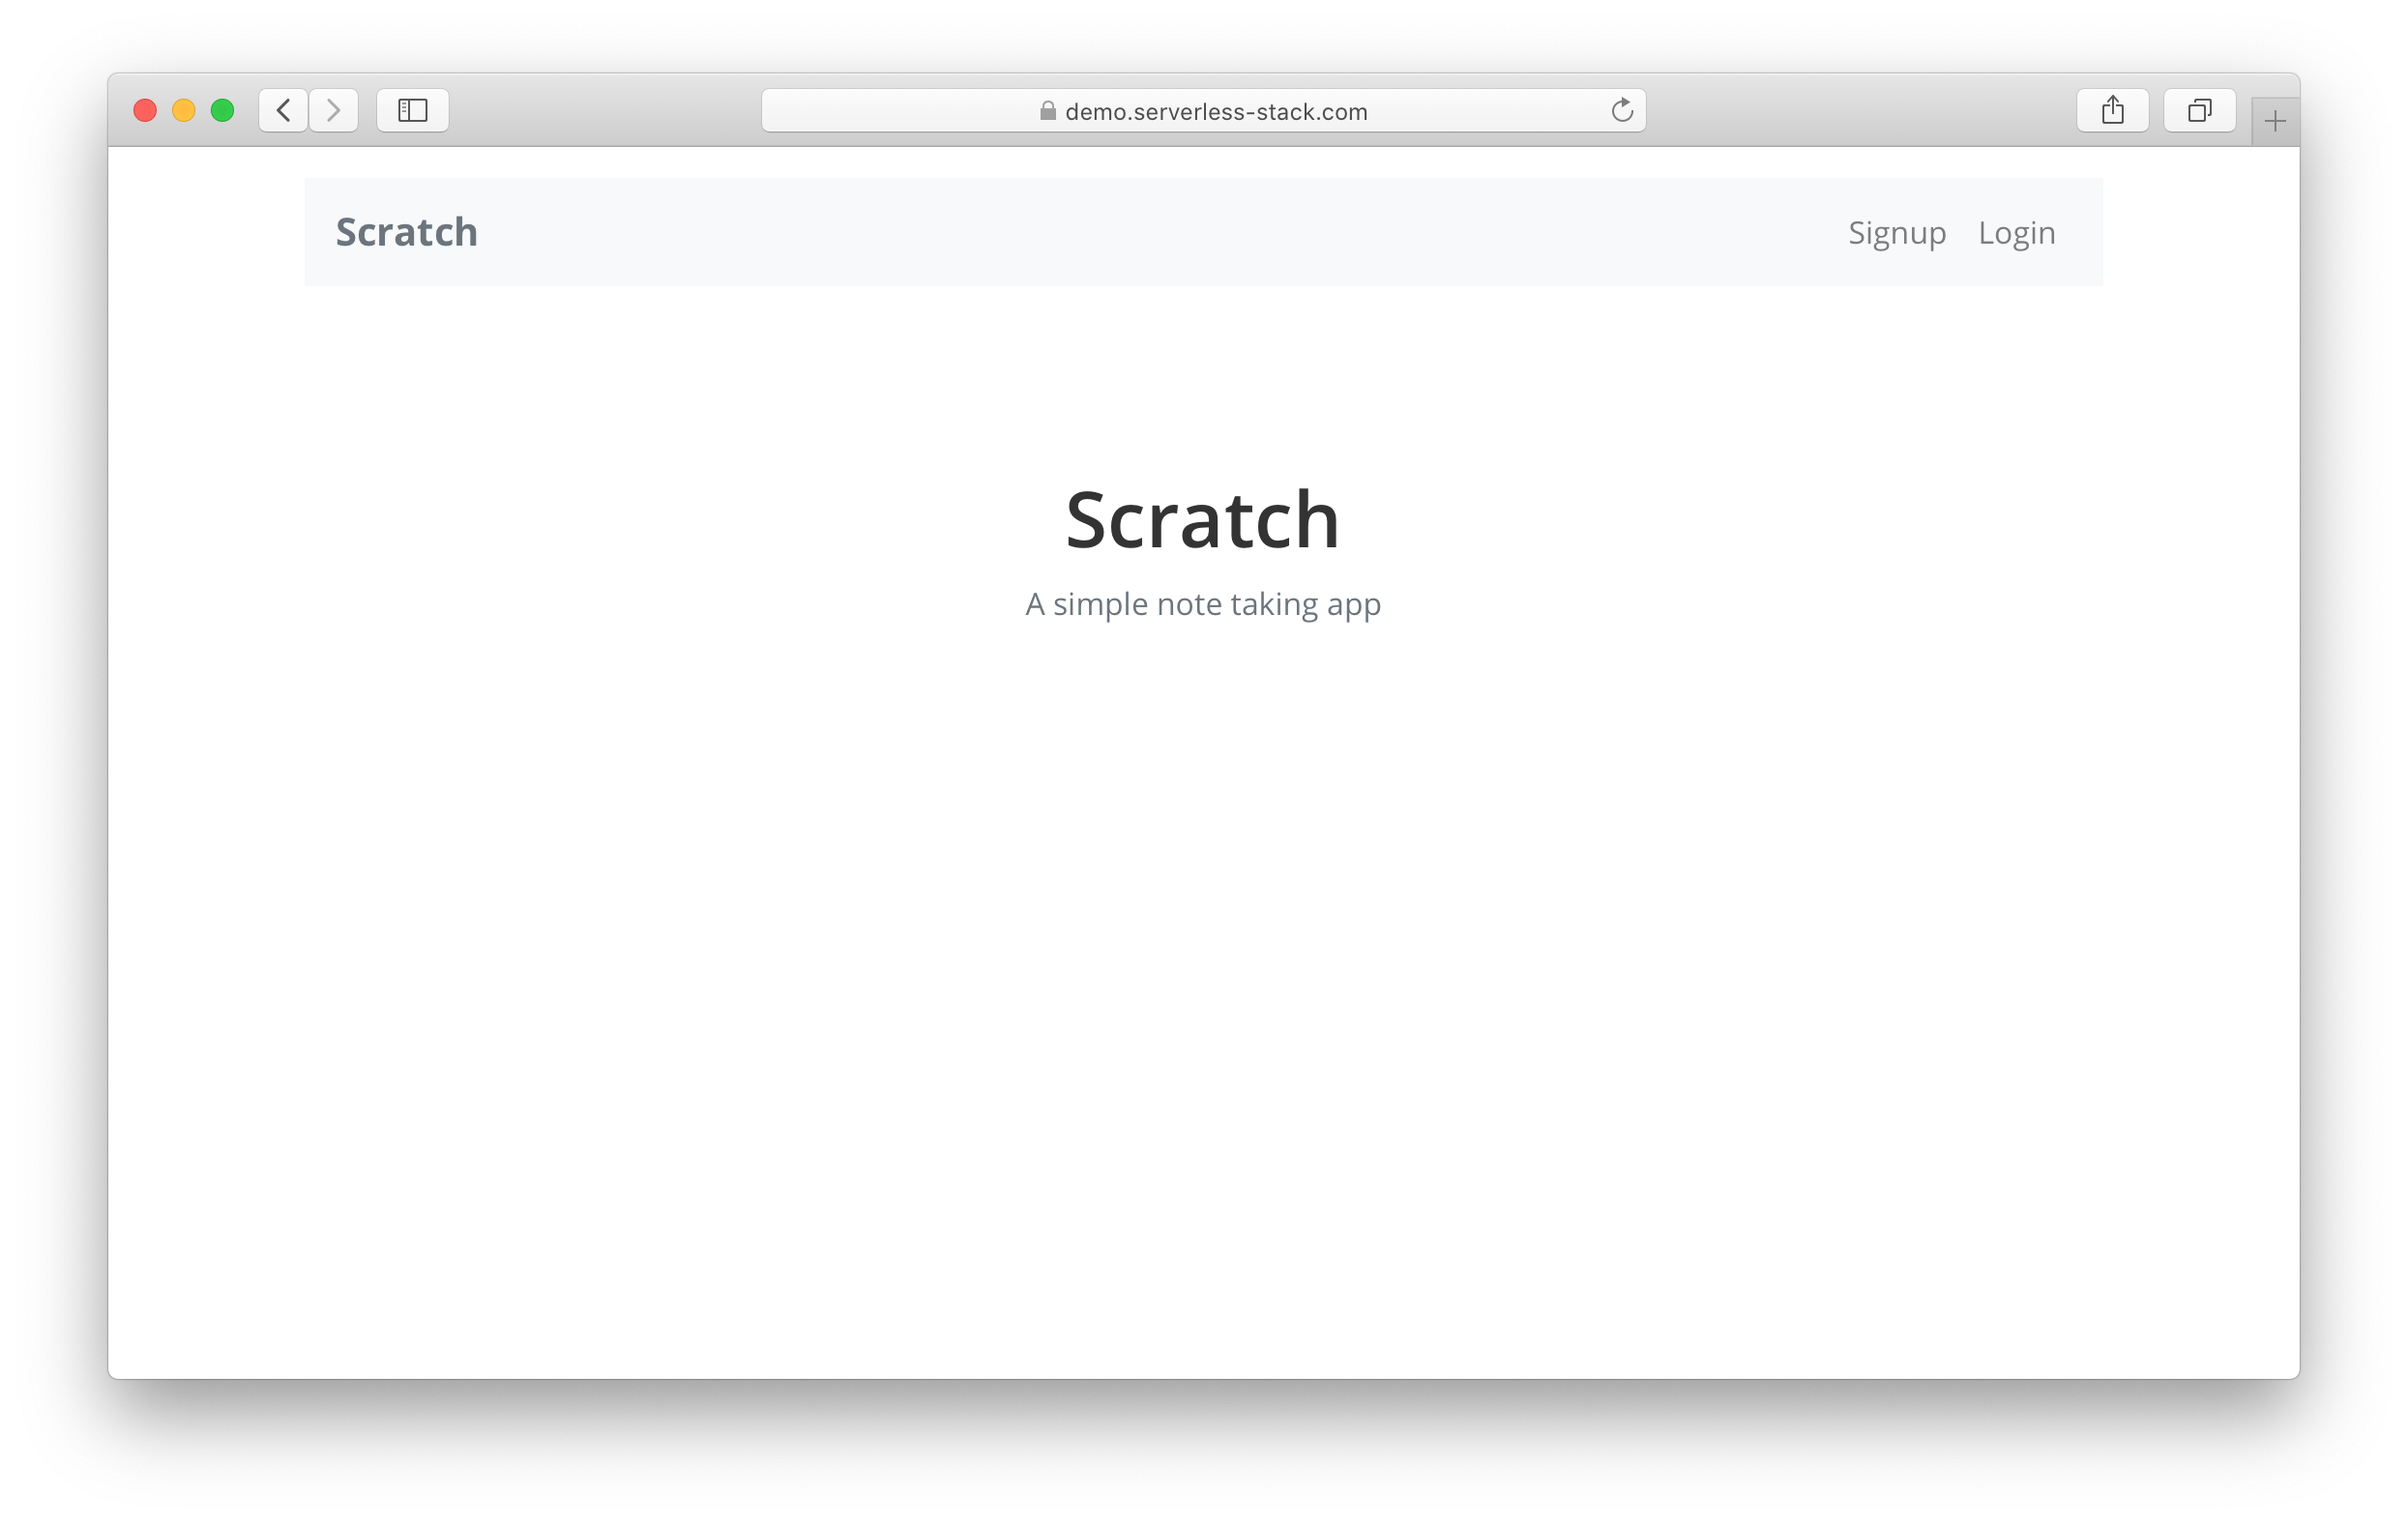
And that’s it! Our React.js app is now deployed to prod under our own domain!

Commit the Changes
 Let’s commit our code so far and push it to GitHub.
$ git add .
$ git commit -m "Setting up custom domains"
$ git push
At this stage our full-stack serverless app is pretty much complete. In the next couple of optional sections we are going at how we can automate our deployments. We want to set it up so that when we git push our changes, our app should deploy automatically. We are also going to setup monitoring and error tracking.
For help and discussion
Comments on this chapter


