


Adding Auth to Our Serverless App
So far we’ve created the DynamoDB table, S3 bucket, and API parts of our serverless backend. Now let’s add auth into the mix. As we talked about in the previous chapter, we are going to use Cognito User Pool to manage user sign ups and logins. While we are going to use Cognito Identity Pool to manage which resources our users have access to.
Setting this all up can be pretty complicated in CDK. SST has a simple Auth construct to help with this.
Create a Stack
 Add the following to a new file in
 stacks/AuthStack.js.
import * as iam from "aws-cdk-lib/aws-iam";
import { Auth, use } from "@serverless-stack/resources";
import { StorageStack } from "./StorageStack";
import { ApiStack } from "./ApiStack";

export function AuthStack({ stack, app }) {
  const { bucket } = use(StorageStack);
  const { api } = use(ApiStack);

  // Create a Cognito User Pool and Identity Pool
  const auth = new Auth(stack, "Auth", {
    login: ["email"],
  });

  auth.attachPermissionsForAuthUsers([
    // Allow access to the API
    api,
    // Policy granting access to a specific folder in the bucket
    new iam.PolicyStatement({
      actions: ["s3:*"],
      effect: iam.Effect.ALLOW,
      resources: [
        bucket.bucketArn + "/private/${cognito-identity.amazonaws.com:sub}/*",
      ],
    }),
  ]);

  // Show the auth resources in the output
  stack.addOutputs({
    Region: app.region,
    UserPoolId: auth.userPoolId,
    IdentityPoolId: auth.cognitoIdentityPoolId,
    UserPoolClientId: auth.userPoolClientId,
  });

  // Return the auth resource
  return {
    auth,
  };
}
Let’s quickly go over what we are doing here.
-
We are creating a new stack for our auth infrastructure. We don’t need to create a separate stack but we are using it as an example to show how to work with multiple stacks.
-
The
Authconstruct creates a Cognito User Pool for us. We are using thesignInAliasesprop to state that we want our users to login with their email. -
The
Authconstruct also creates an Identity Pool. TheattachPermissionsForAuthUsersfunction allows us to specify the resources our authenticated users have access to. -
This new
AuthStackreferences thebucketresource from theStorageStackand theapiresource from theApiStackthat we created previously. -
And we want them to access our S3 bucket. We’ll look at this in detail below.
-
Finally, we output the ids of the auth resources that’ve been created and returning the auth resource so that other stacks can access this resource.
Note, learn more about sharing resources between stacks here.
Securing Access to Uploaded Files
We are creating a specific IAM policy to secure the files our users will upload to our S3 bucket.
// Policy granting access to a specific folder in the bucket
new iam.PolicyStatement({
  actions: ["s3:*"],
  effect: iam.Effect.ALLOW,
  resources: [
    bucket.bucketArn + "/private/${cognito-identity.amazonaws.com:sub}/*",
  ],
}),
Let’s look at how this works.
In the above policy we are granting our logged in users access to the path private/${cognito-identity.amazonaws.com:sub}/ within our S3 bucket’s ARN. Where cognito-identity.amazonaws.com:sub is the authenticated user’s federated identity id (their user id). So a user has access to only their folder within the bucket. This allows us to separate access to our user’s file uploads within the same S3 bucket.
One other thing to note is that, the federated identity id is a UUID that is assigned by our Identity Pool. This id is different from the one that a user is assigned in a User Pool. This is because you can have multiple authentication providers. The Identity Pool federates these identities and gives each user a unique id.
Add to the App
Let’s add this stack to our app.
Replace the main function in stacks/index.js with this.
export default function main(app) {
  app.setDefaultFunctionProps({
    runtime: "nodejs16.x",
    srcPath: "backend",
    bundle: {
      format: "esm",
    },
  });
  app.stack(StorageStack).stack(ApiStack).stack(AuthStack);
}
Also, import the new stack at the top.
import { AuthStack } from "./AuthStack";
Add Auth to the API
We also need to enable authentication in our API.
Add the following above the function: { line in stacks/ApiStack.js.
authorizer: "iam",
This tells our API that we want to use AWS_IAM across all our routes.
Deploy the App
If you switch over to your terminal, you’ll notice that you are being prompted to redeploy your changes. Go ahead and hit ENTER.
Note that, you’ll need to have sst start running for this to happen. If you had previously stopped it, then running npx sst start will deploy your changes again.
You should see something like this at the end of the deploy process.
Stack dev-notes-AuthStack
  Status: deployed
  Outputs:
    Region: us-east-1
    IdentityPoolId: us-east-1:9bd0357e-2ac1-418d-a609-bc5e7bc064e3
    UserPoolClientId: 3fetogamdv9aqa0393adsd7viv
    UserPoolId: us-east-1_TYEz7XP7P
You’ll also see our new User Pool if you head over to the Cognito tab in the SST Console.
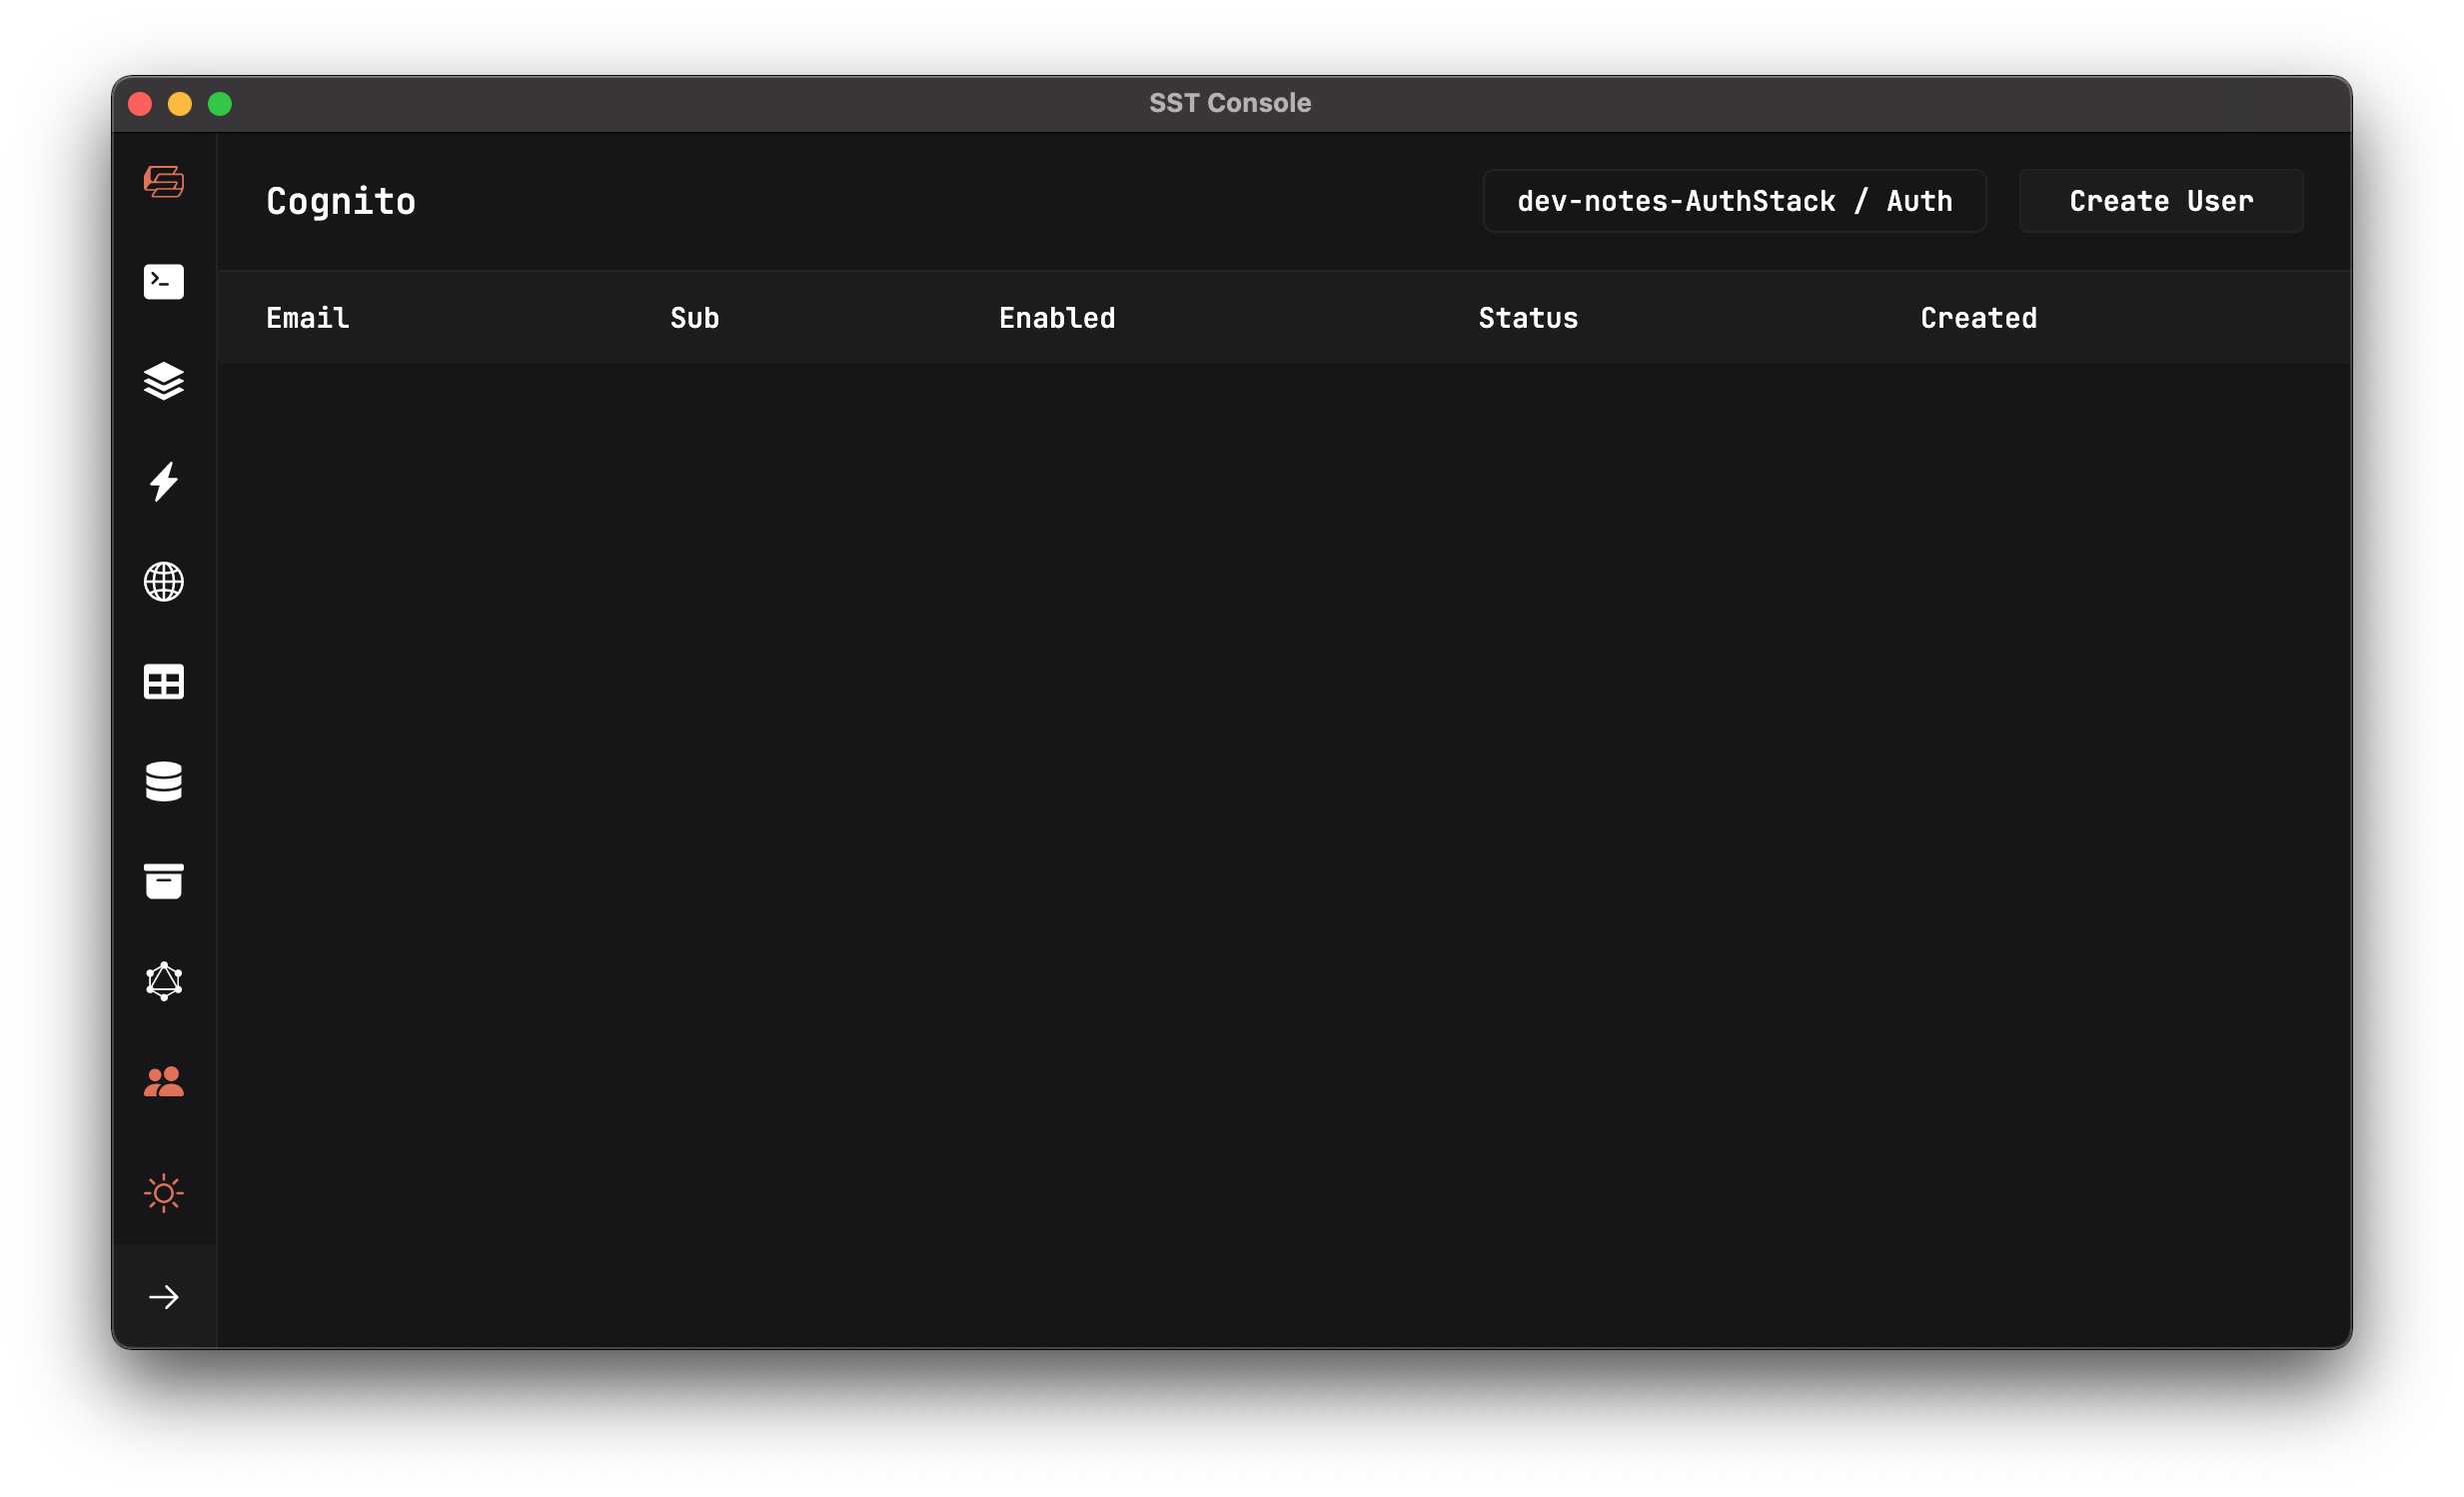
Create a Test User
Let’s create a test user so that we can test our API. Click the Create User button.
Fill in admin@example.com as the Email and Passw0rd! as the Password, then hit Create.
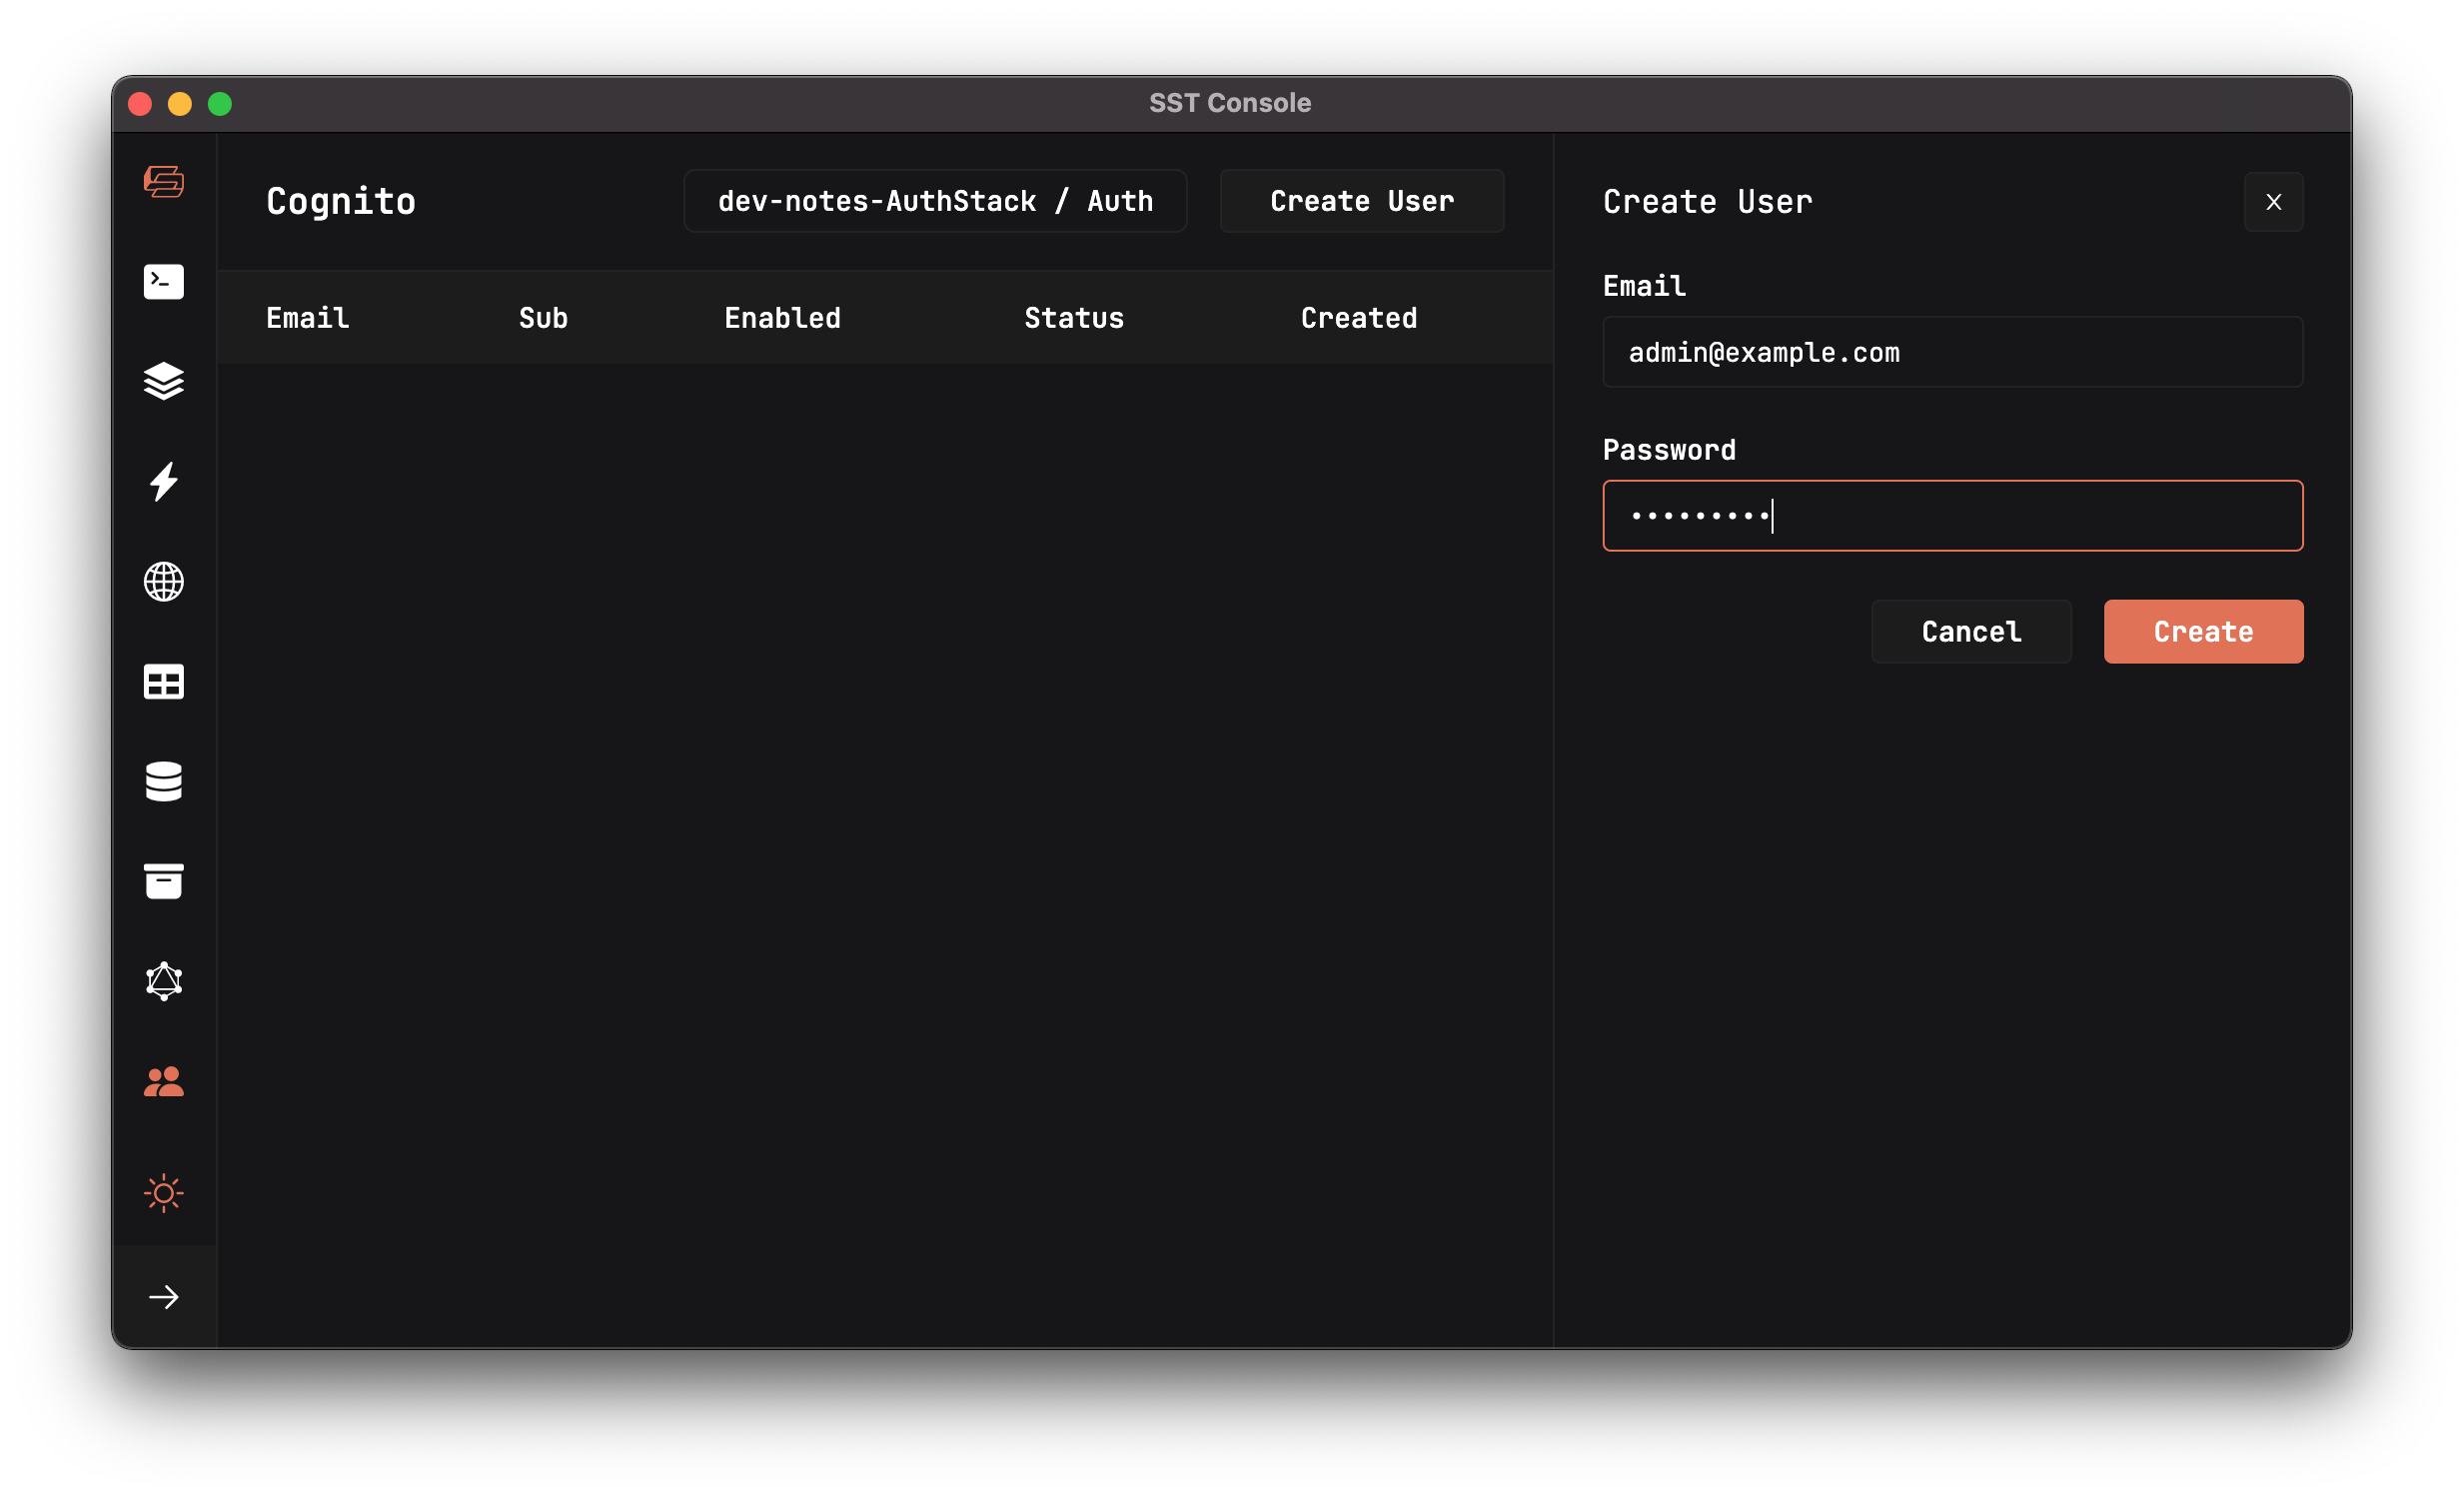
This should create a new user.
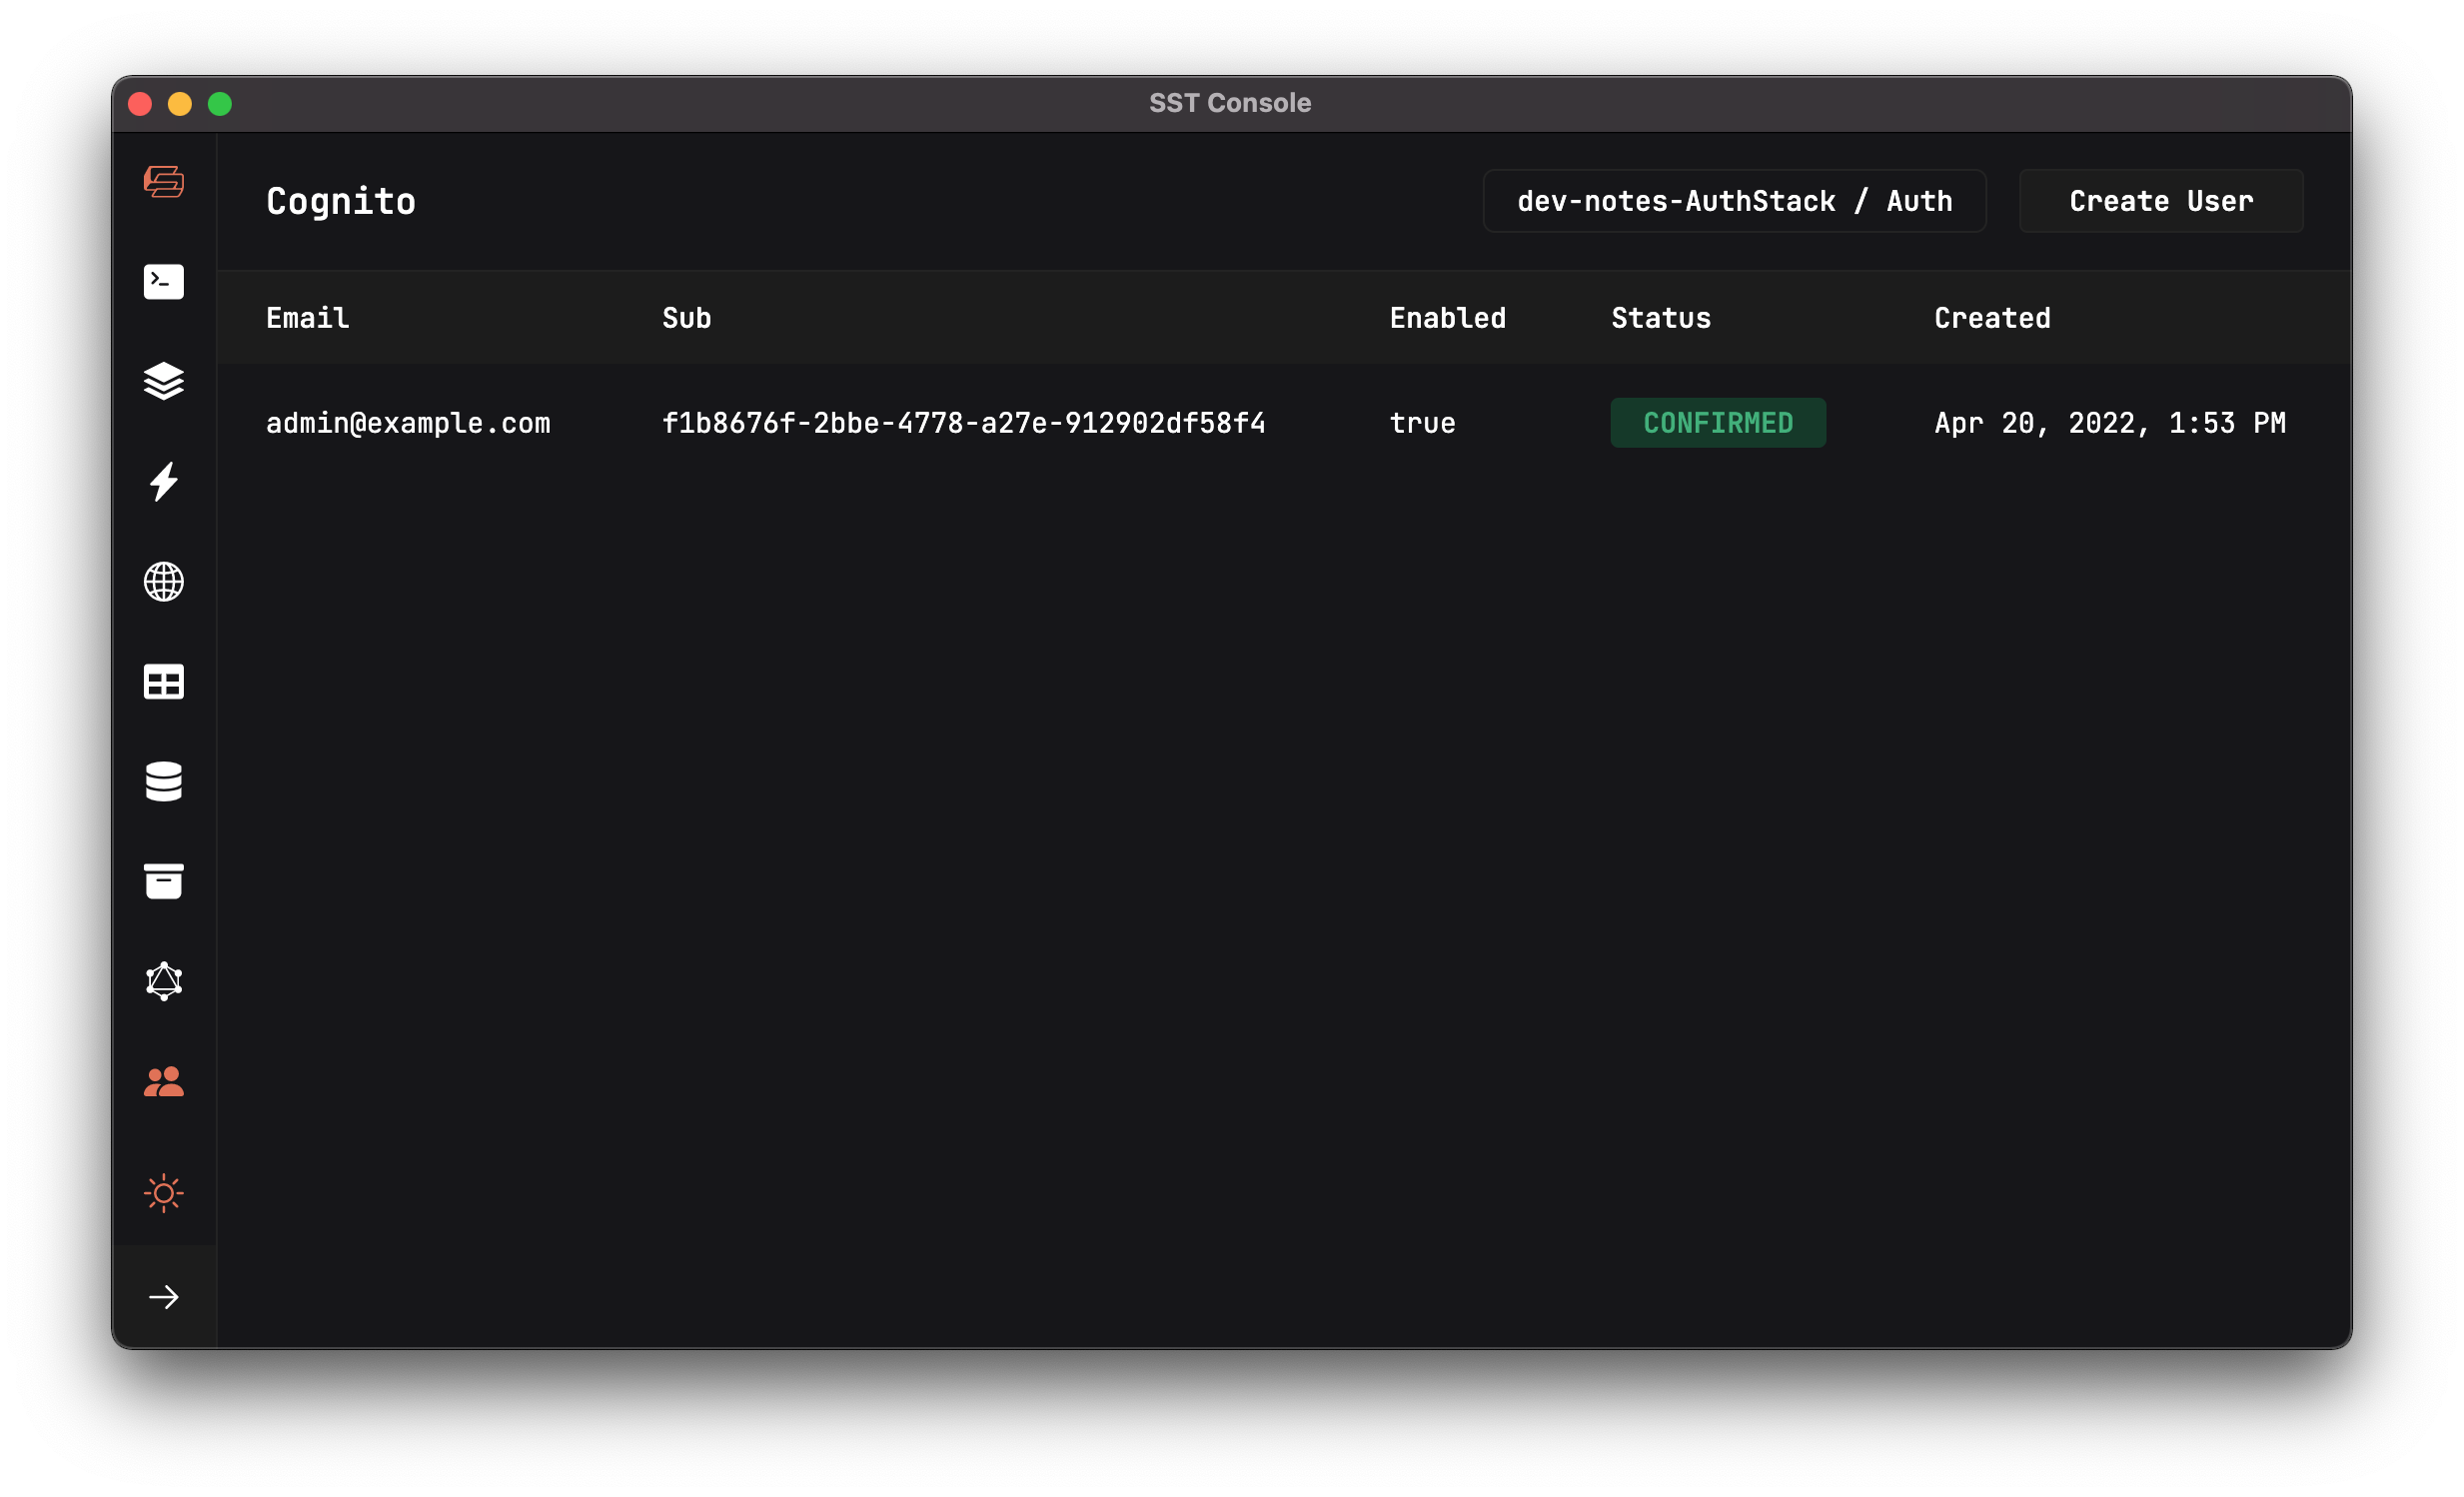
Now that the auth infrastructure and a test user has been created, let’s use them to secure our APIs and test them.
For help and discussion
Comments on this chapter