Add an API to Update a Note
Now let’s create an API that allows a user to update a note with a new note object given the id.
Add the Function
 Create a new file in
 backend/functions/update.js and paste the following.
import handler from "../util/handler";
import dynamoDb from "../util/dynamodb";

export const main = handler(async (event) => {
  const data = JSON.parse(event.body);
  const params = {
    TableName: process.env.TABLE_NAME,
    // 'Key' defines the partition key and sort key of the item to be updated
    Key: {
      userId: "123", // The id of the author
      noteId: event.pathParameters.id, // The id of the note from the path
    },
    // 'UpdateExpression' defines the attributes to be updated
    // 'ExpressionAttributeValues' defines the value in the update expression
    UpdateExpression: "SET content = :content, attachment = :attachment",
    ExpressionAttributeValues: {
      ":attachment": data.attachment || null,
      ":content": data.content || null,
    },
    // 'ReturnValues' specifies if and how to return the item's attributes,
    // where ALL_NEW returns all attributes of the item after the update; you
    // can inspect 'result' below to see how it works with different settings
    ReturnValues: "ALL_NEW",
  };

  await dynamoDb.update(params);

  return { status: true };
});
This should look similar to the create.js function. Here we make an update DynamoDB call with the new content and attachment values in the params.
Add the Route
Let’s add a new route for the get note API.
 Add the following below the
 GET /notes/{id} route in stacks/ApiStack.js.
"PUT /notes/{id}": "functions/update.main",
Deploy Our Changes
If you switch over to your terminal, you’ll notice that you are being prompted to redeploy your changes. Go ahead and hit ENTER.
Note that, you’ll need to have sst start running for this to happen. If you had previously stopped it, then running npx sst start will deploy your changes again.
You should see that the API stack is being updated.
Stack dev-notes-ApiStack
  Status: deployed
  Outputs:
    ApiEndpoint: https://5bv7x0iuga.execute-api.us-east-1.amazonaws.com
Test the API
Now we are ready to test the new API. In an earlier chapter we tested our create note API. It should’ve returned the new note’s id as the noteId.
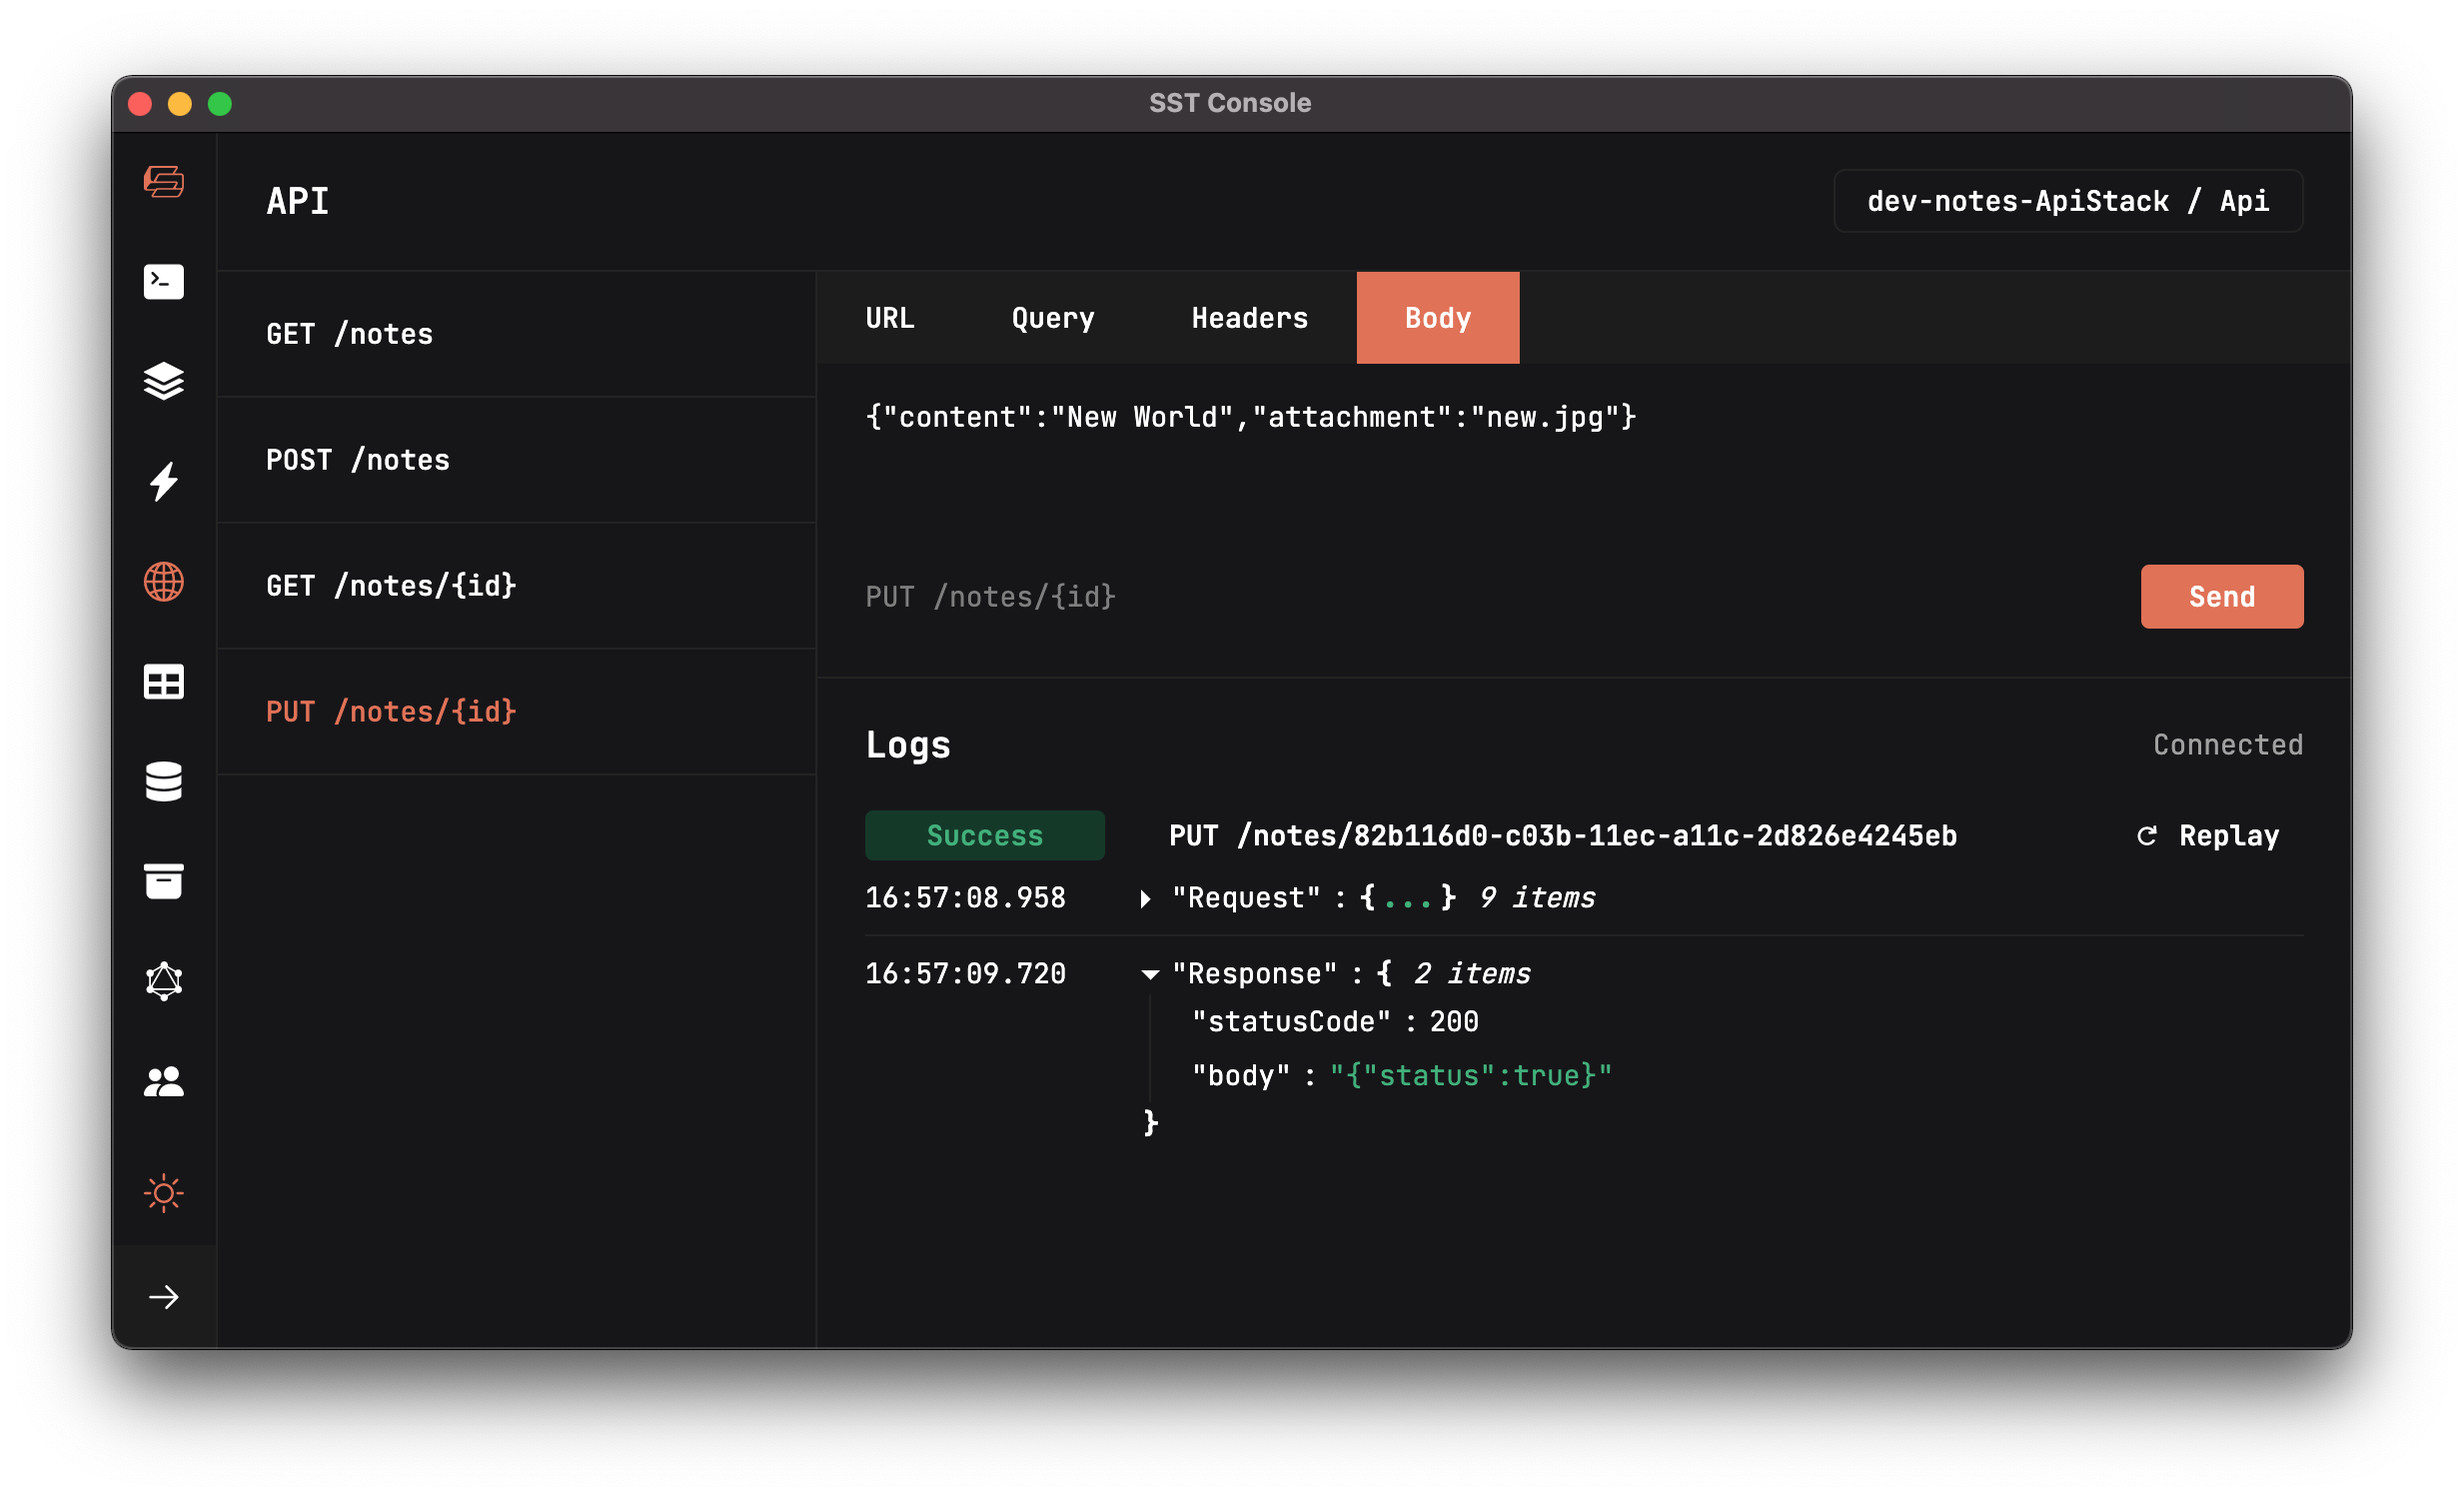
Head to the API tab in the SST Console and select the PUT /notes/{id} API.
 Set the
 noteId as the id and in the Body tab set the following as the request body. Then hit Send.
{"content":"New World","attachment":"new.jpg"}
You should see the note being updated in the response.

Next we are going to add the API to delete a note given its id.
For help and discussion
Comments on this chapter


